ProjectSMM.com
Gonzo TechNet
Installing SQL 2005 in a Clustered environment
Part 2: Step-By-Step instructions on installing SQL 2005 in a Clustered Environment
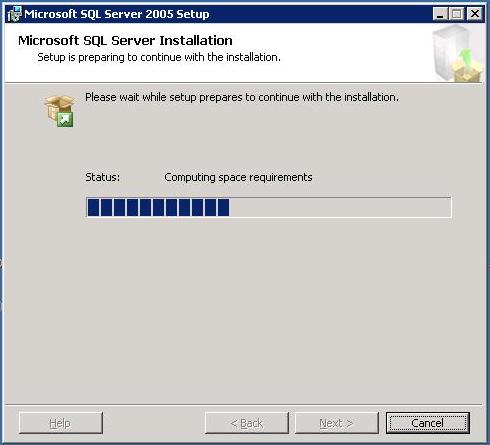
Once the program begins the installation, it will first scan the system for the neccessary disk space and prepare the installer.
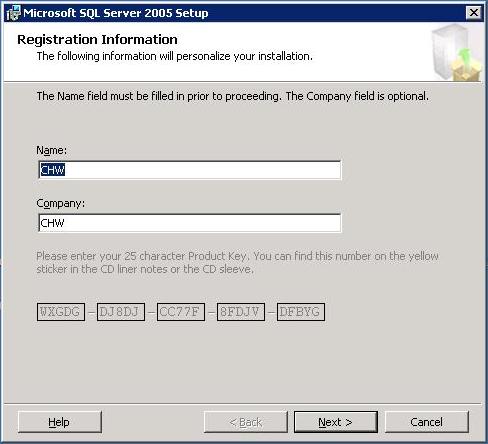
 On the Registration screen, enter the appropriate information and click the "Next" button.
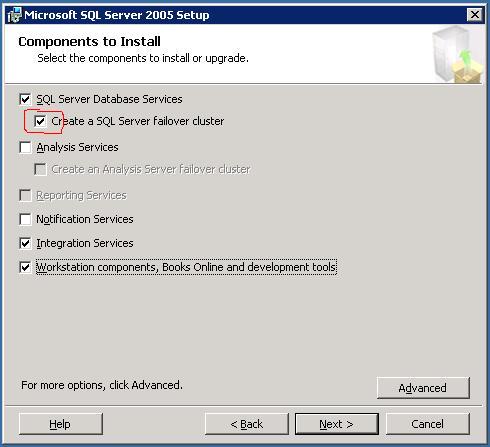
 When the "Components to Install" screen appears, mark the appropriate components you wish to be installed.
*** CRITICAL*** Be sure to CHECK the "Create a SQL failover cluster" checkbox.
If you don't the program will NOT install/update the SQL Cluster. Instead, it will install a new, LOCAL copy of SQL Server.
Also, be sure to select the "Workstation components, Books Online development tools.
Note: The installation of "Integration Services" is optional, but it is highly advised that you include it.
Click on the "Next" button to continue.
Upgrade an existing SQL Server
-
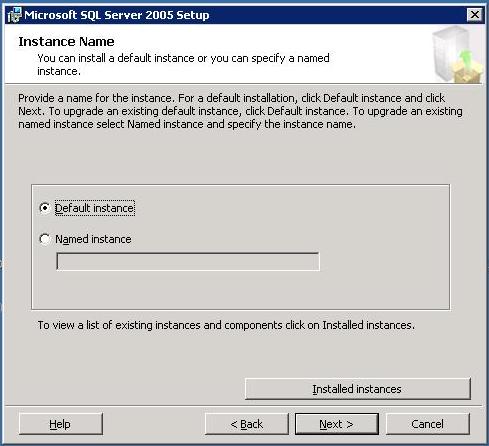
You will now be prompted for the "Instance Name".
Select the "Default instance" and click the "Next" button to continue.
*** NOTE *** In a clustered environment you should always use the "Default Instance".
You would only use a named instance if you were installing a secondinstance on the same cluster. Which is a rarety.
-
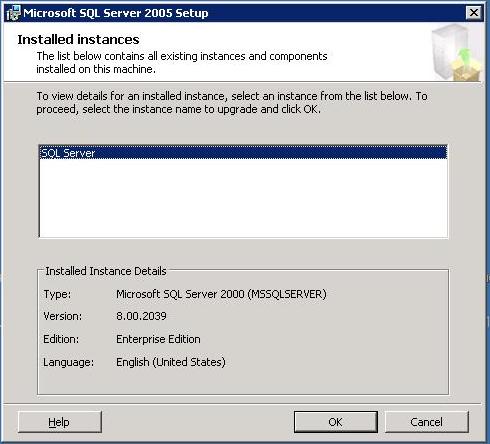
The program will now detect any instances already installed in the cluster.
Verify and select the appropriate instance.
Click on the "[OK]" button to continue.
-
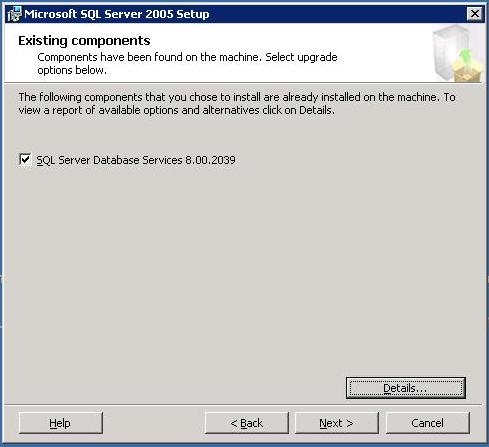
The program will now display the existing components and thier version.
Verify the components you wish to upgrade.
Click on the "[N]ext" button to continue.
New SQL Server Installation
-
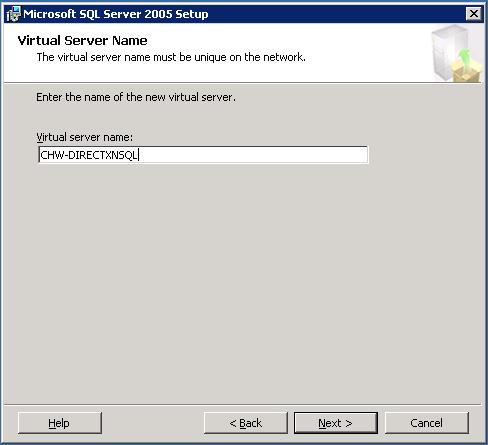
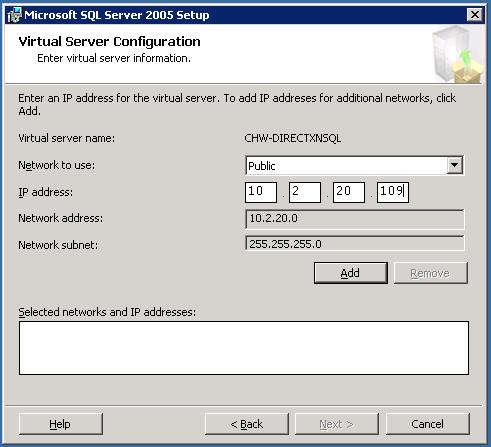
For a new install, you will prompted for the the network and shared file system information.
Enter the appropriate information and then click the [Add] button.
When you are finished entering IP/Network informaiton click on the [Next] button to continue.
 Cluster Group Selection:
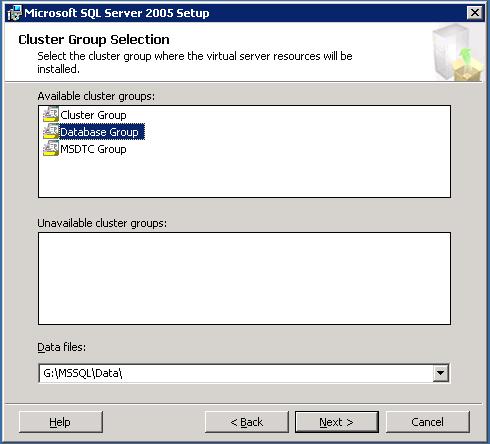
During a new install, you will be prompted to select which "Group" you wish the MS-SQL resources to be assigned to.
Use the group you previously created with the Cluster Administrator. If you didn't previously create a group, you can add them to the default ("Cluster Group") for now.
Later you can use Cluster Administrator to create a group and move the SQL resources to it.
Within this same screen you will also need to specify a SHARED Drive and directory for the database data files to be installed in.
This should be a shared drive that previously created in cluster administrator.
The default directory is "Microsoft SQL Server". To change it, select a the appropriate shared drive from the dropdown list and then type the name of the directy you wish to use.
Cluster Group Selection:
When you are finished click on the [Next] button to continue.
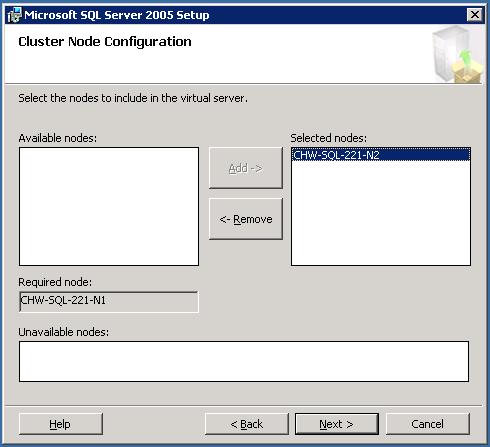
 You will now be prompted to select the nodes that will be part of the SQL Cluster.
The currenlty active node will automatically be included as the "Required Node".
If there is only one other node in the current cluster, will automatically be added to the "Selected nodes:" list.
Otherwise, you will need to add/remove node appropriately.
When you are finished click on the [Next] button to continue.
You will now be prompted to select the nodes that will be part of the SQL Cluster.
The currenlty active node will automatically be included as the "Required Node".
If there is only one other node in the current cluster, will automatically be added to the "Selected nodes:" list.
Otherwise, you will need to add/remove node appropriately.
When you are finished click on the [Next] button to continue.
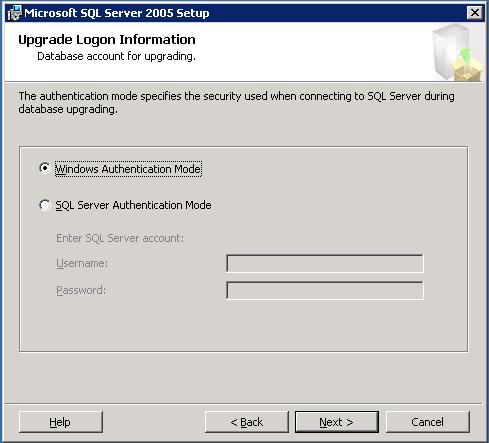
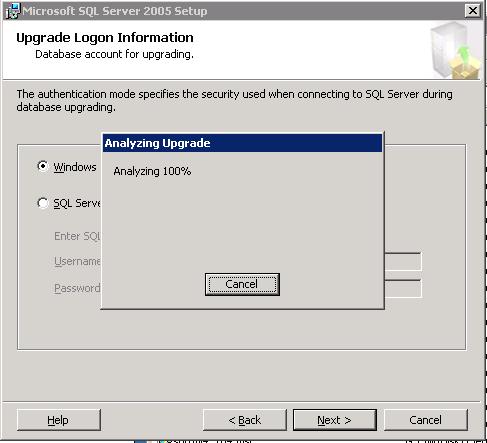
You will now be prompted for the logon credentials that will be used to perform the installation/upgrade.
This screen is NOT for entering the accounts/credentials that the SQL Server services will run under.
This is a verification of the account that the program will used to perform the upgrade.
If you have administrator rights to the cluster and its nodes, you should use the "Windows Authentication Mode".
Click the "Next" button to continue.
 The program will now validate the information you have entered and analyze the upgrade.

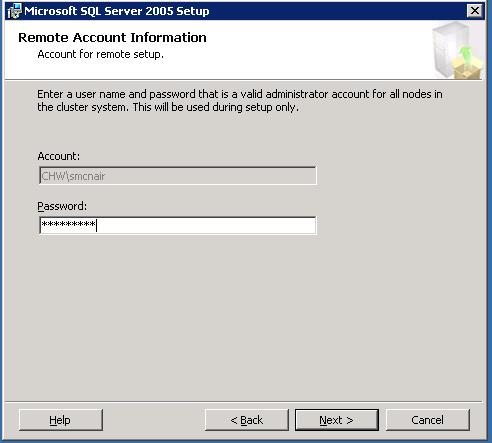
 Enter the appropriate password for the account being used to pefrom the upgrade and click the "Next" button to continue.
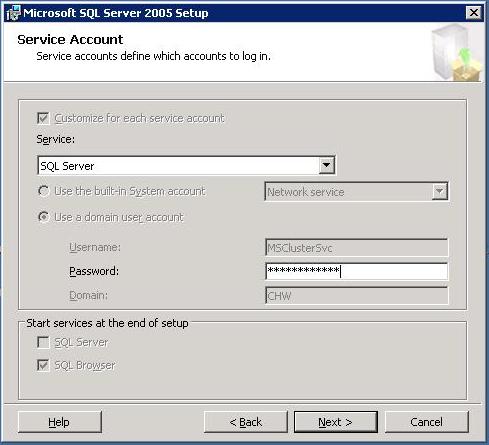
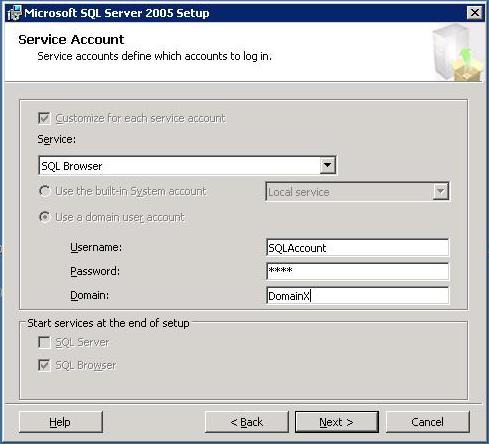
 SQL Server Service Account credentials
You will now be prompted for the password for the "Service Account" that the SQL Server service will run under.
Enter the appropriate password and click on the "Next" button to continue.
 SQL Browser Service Account credentials
If this is an upgrade from SQL 2000 to 2005, you will receive the following error:
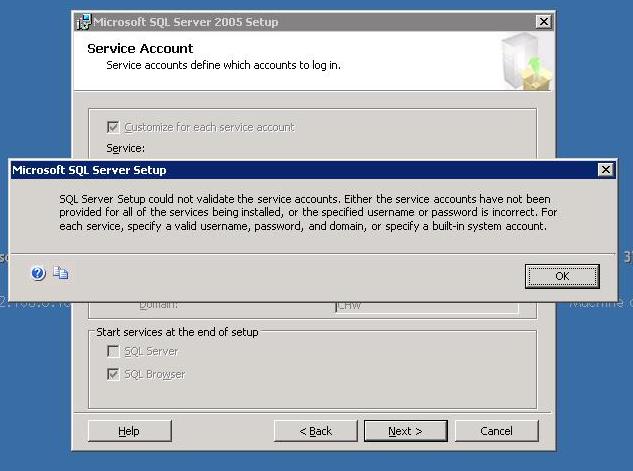 This is because in SQL 2005, you need to specifically supply the credentials for the SQL Browser service account.
For the highest level of security, you could use a separate domain account for the SQL Browser service account.
But, for our example, use the same credentials as the SQL Server service.
When you are finished click on the [Next] button to continue.
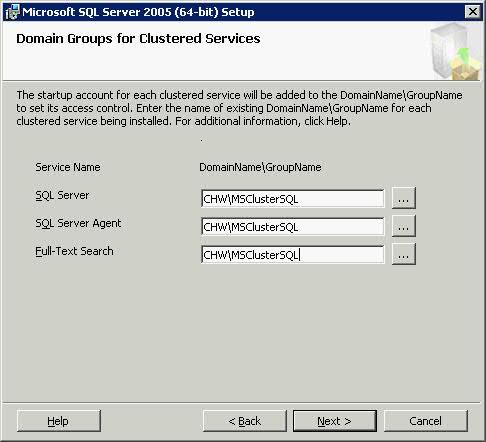
 Domian Groups For Clustered Services:
As part of the new security features of SQL 2005, you will need to specify the Domain GroupNames for the network accounts being used by the Services.
Each of the accounts used by the services must belong to a special domain group.
You can create a different group for each account, or, use one group for all the accounts.
How you configure these accounts and groups will depend on you organization's security model.
When you are finished click on the [Next] button to continue.
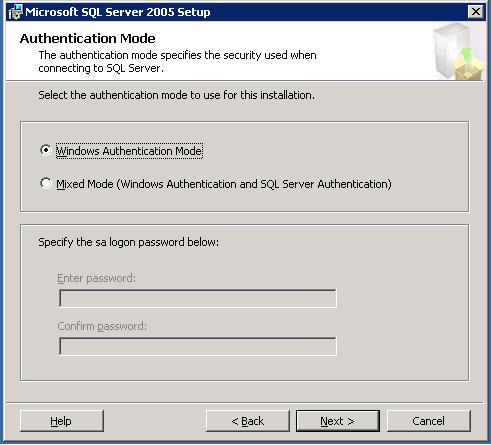
 Authentication Mode:
If this is a new installation, you will be prompted to enter the information for the authentication mode that will be used by SQL Server.
If you will select "Mixed" then you will need to enter and confirm the "sa" password.
(If this is an upgrade, the current settings will be automatically imported.)
When you are finished click on the [Next] button to continue.
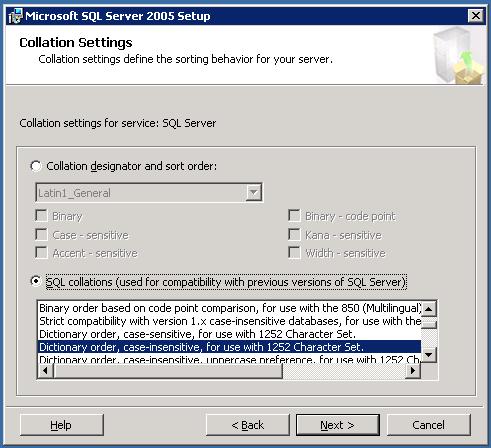
 Collation :
If this is a new installation, you will be prompted to select the default Collation Settings (Sort Order).
The default is to use "Dictionary order, case-insensitive, for use with 1252 Character Set."
When you are finished click on the [Next] button to continue.
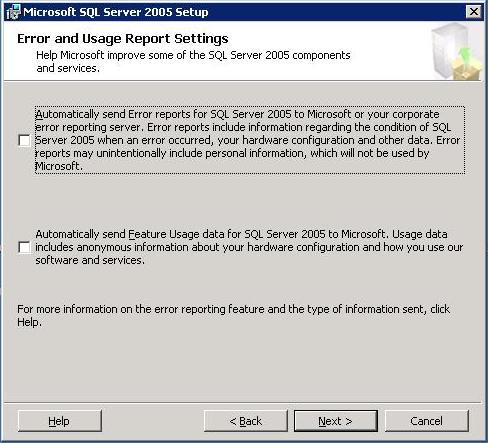
 You will be prompted to select the error and usage reporting options.
This is the information that will be transmitted to Microsoft Support should any problems occur during the upgrade/installation.
You will be prompted to select the error and usage reporting options.
This is the information that will be transmitted to Microsoft Support should any problems occur during the upgrade/installation.
When you are finished click on the [Next] button to continue.
 Begin the Installation process...